

You may consider to upgrade the original 6-volt electrical system to 12-volt, for instance to install a modern audio system, a fridge or simply because 12 volt is the current standard and 12-volt parts are just so much easier to get by.
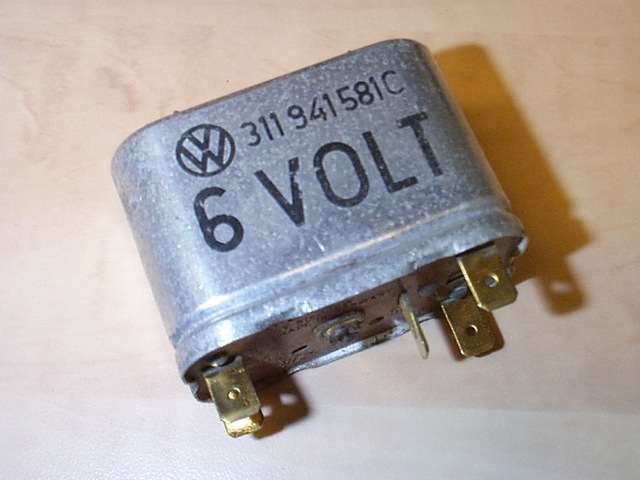
When doing a 12-volt conversion, you will basically be replacing everything that is 6-volt, obviously the battery and any light emitting parts, such as headlights and dashboard lights. The 6-volt wiring works fine in a 12-volt system, so there is no need to replace it. There are two options for the wiper motor and fuel meter: replacing them by their 12-volt equivalents or using a voltage converter. The first option would have had my preference; unfortunately both parts are difficult to find in the 12-volt variant, since they were only made for one year in 1967. I chose to use the converters and have not experienced any problems over the years. EDIT: I wasn't experiencing any issues, but 3 years in and I replaced the 6-volt wiper motor armature with its 12-volt equivalent which is now available from pretty much every respectable VW shop. There is a noticeable difference between the two speeds now which was nearly the same with the 6 to 12-volt converter. The 6-volt parts do work on 12-volt for a limited amount of time, before they eventually burn out…
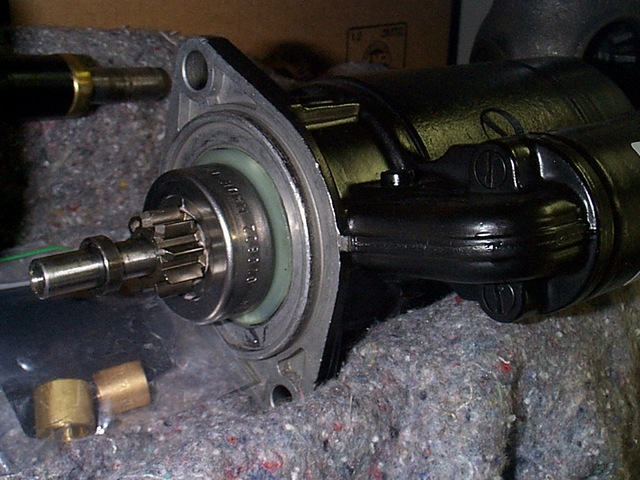
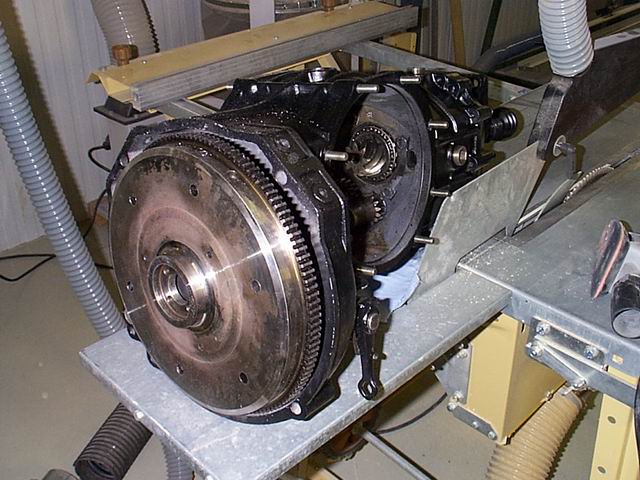
The more troublesome part is where we get to the engine and gearbox, the issue with the 6-volt starter motor is that its shaft is a different diameter as its 12-volt equivalent, to make things worse, it also has a bigger gear than its 12-volt counter part. Meaning that a '12-volt' engine also has a larger flywheel, which will not fit in the gearbox that was designed for the smaller 6-volt system flywheel.
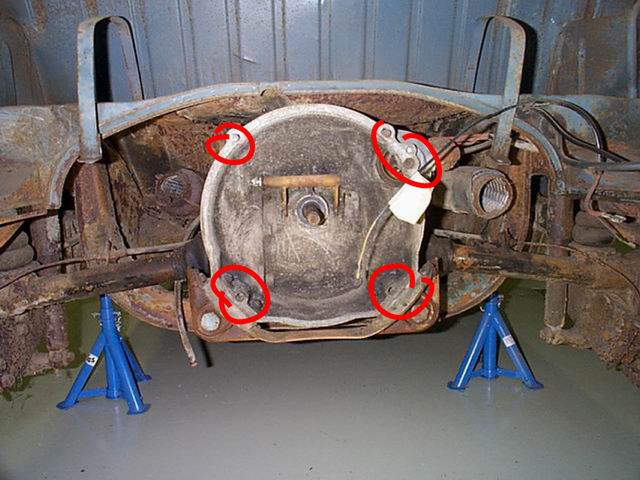
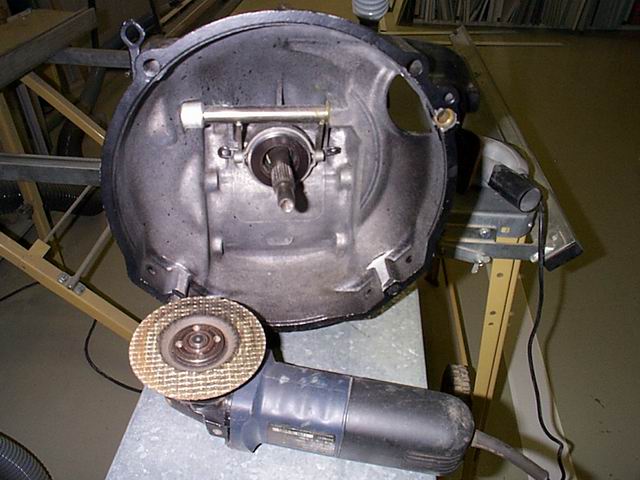
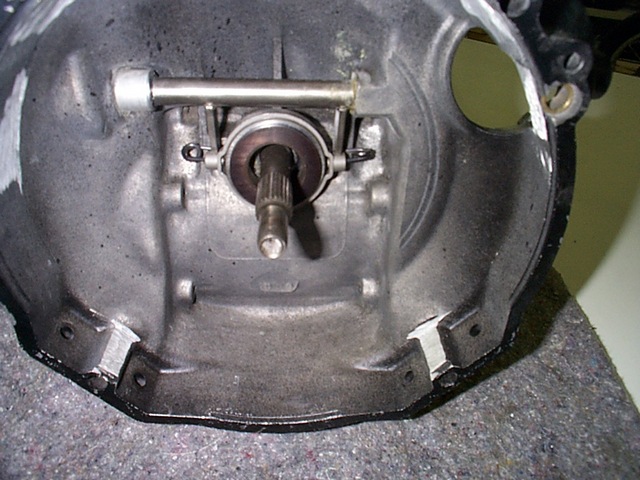
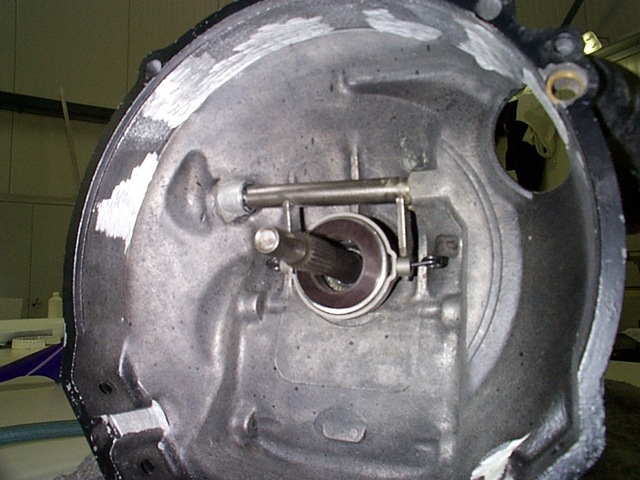
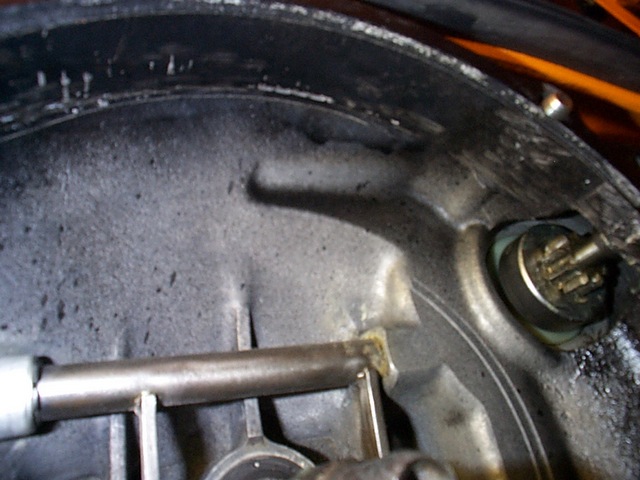
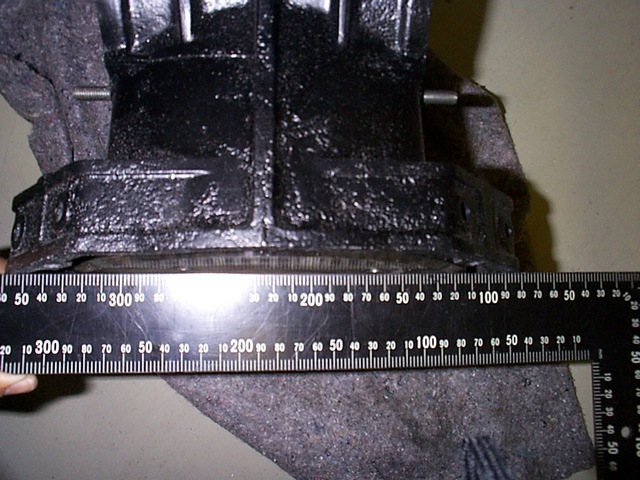
So besides replacing the starter bush in the gearbox that holds the motor shaft, you will also need to create this extra space in your gearbox to fit the slightly larger flywheel. The only way to do this is to grind away the excessive material, mainly at the places where the bolts to mount the engine go through the gearbox (refer to the photo with the marked spots).
The easiest way to know exactly where and how much you need to remove is to have a spare flywheel, which you can use to mark the places that need grinding. Before I managed to fit the larger flywheel, I removed approximately 1 mm at the marked spots. As soon as you can fit the flywheel, use a ruler to verify that the flywheel fits entirely inside the gearbox. In case you don’t have a separate flywheel, you can install the engine with the larger flywheel, tighten and remove the engine again; this will leave marks in the gearbox of the flywheel’s teeth, which mark the spots that need additional grinding.
WARNING!!! Now, before you start grinding away like a maniac, there is something you should know: the gearbox is made of magnesium. You might remember the experiments at school with magnesium powder; it’s incredibly flammable, especially when combined with material that keeps the fire going such as your hair, shirt and pants. Magnesium powder does not ignite by itself, it requires a flame or a spark. Metal sparks and guess what, there are several bolts sticking through the gearbox around the places you will be grinding. The safest way is to remove all bolts and nuts from the gearbox, but if you don’t have the intention to take out the entire gearbox and rear axles, be very careful! Whatever happens, DO NOT use water to stop a magnesium fire: water is a catalyst for magnesium… the results could be disastrous!