Deluxe Door Panels
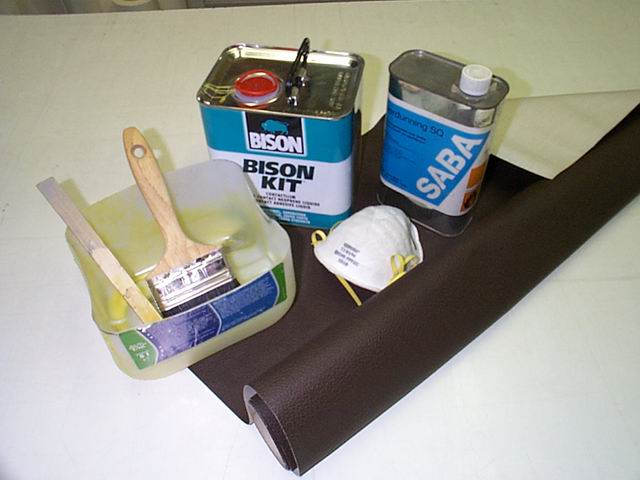


What will you need?
- 3 mm thick plywood (hardboard will work as wel)
- A jigsaw (to cut out the panels from the plywood)
- Contact glue (one can is not enough)
- Thinner (used to dilute the glue)
- Empty thinner can (to carry and dilute the glue)
- Dust mask (although, without might make things screamingly funny)
- New vinyl (choose your colour!)
- Old piece of vinyl (used as a non-adhere layer while gluing)
- A fan (no special requirements)
- Something of a broad brush +/- 10 cm (gluing)
It is important to use a brush with a wooden handle and a metal cover that holds the hair (so no disposable brushes!!) I noticed that plastic covers seem to dissolve when brought in contact with the glue :-| It is also advisable to cut off about half of the brushes hair; this makes the brush less slack, which makes spreading the glue considerably easier.
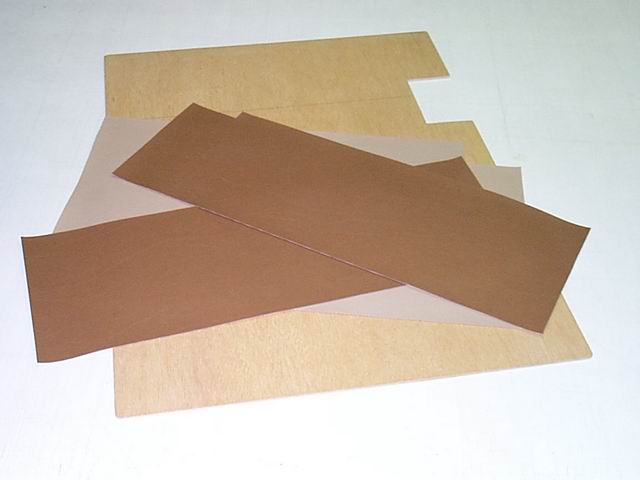
Cut the pieces of vinyl slightly bigger than the panel, approximately 4 cm on every side as you'll be folding them around the edges later on. This will make it look much nicer and ensures that the panels won't rattle when they are installed in the doors.
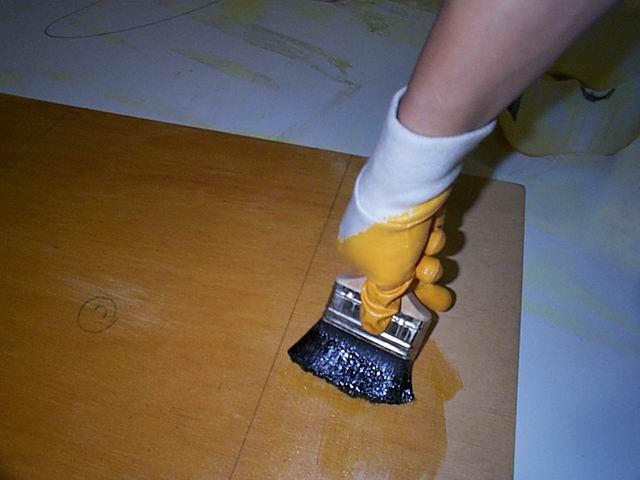
As a preparation, draw horizontal lines on the panels where you'd like the different colours to align. Next, spread out all the pieces of pre-cut vinyl and apply a generous layer of glue on both the backside of the vinyl and the front of the door panel. Do not worry about any glue on the outside of the vinyl; contact glue can be rubbed off very easy with your thumb. Leave the vinyl and door panel to dry for approximately 5 to 10 minutes, now apply another layer of glue; one layer is not sufficient as the new vinyl 'absorbs' a lot of glue when applying the first layer. After the second layer is done, leave it all to dry for another 5 minutes.
Place the extra piece of vinyl on the 'sticky' panel, approximately 1 cm underneath the line you have drawn. Notice that the extra piece of vinyl doesn't really stick to the panel, this is because contact glue only sticks to... YES; contact glue...
Carefully place the first glued vinyl colour on your extra piece of vinyl, now carefully align the first colour against the line you drew on the door panel earlier. Make sure you only glue the approximately 1 cm of the vinyl to the panel! Now, slowly pull back the extra piece of vinyl (which is between the panel and the vinyl you are gluing together), while applying pressure from left to right, gluing the vinyl and door panel together. When the first piece is completely glued, continue with the middle and so on.
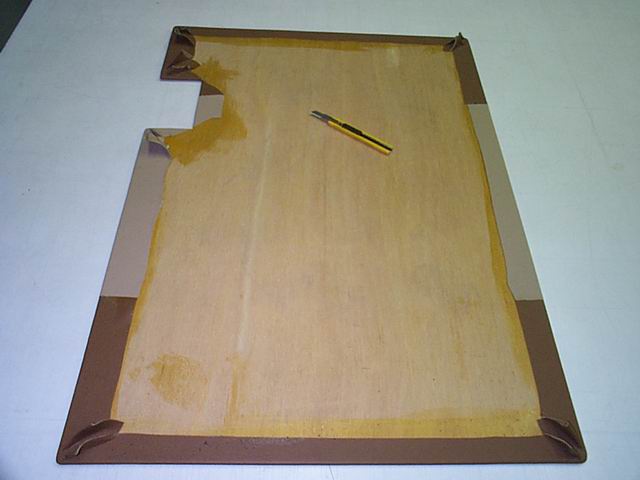
After all pieces have been glued, we'll continue folding the remaining vinyl around the edges of the door panel; apply some glue on the back of the door panel, approximately 5 cm from the edges. Pay special attention to the edges; make sure you properly spread all the glue and don't leave any thick blobs of glue as this will cause a really ugly result when you fold the vinyl around the edges! Once you have let it all dry for another 5 minutes, slowly rub the vinyl around the edge using your thumb. For the corners, firmly pull the vinyl around them; you'll need to make some folds in the vinyl in order to be able to to pull smoothly around the corners. Now that we have folded all the vinyl nicely around the edges we still need to remove the excessive vinyl to ensure that the panels rest firmly in the doors. First, cut away the redundant vinyl, so that you are left with approximately 2 to 3 cm remain on the back of the panel.
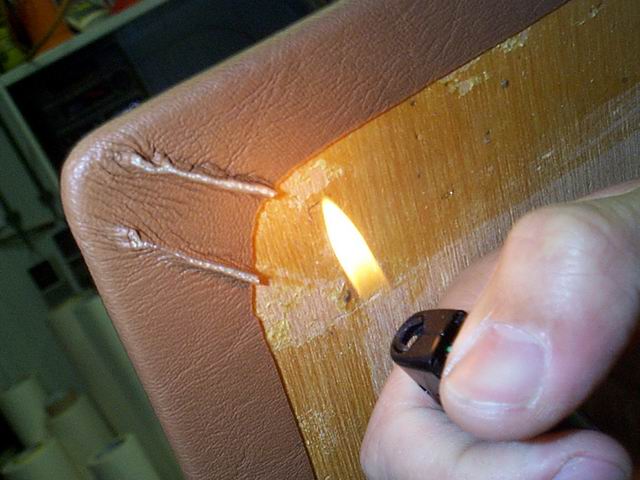
The folds at the corners will need some extra attention; cut them away just above the surface, about 1 mm. Now use a cigarette lighter to join both parts of the vinyl together. It’s done easiest in a vertical position, but be careful! Try not to heat the vinyl to long; imitation leather melts rather fast and the contact glue catches fire real easy... Moderately heat the fold and squeeze both parts of the vinyl together with your thumb (taking care not to burn your fingers!)
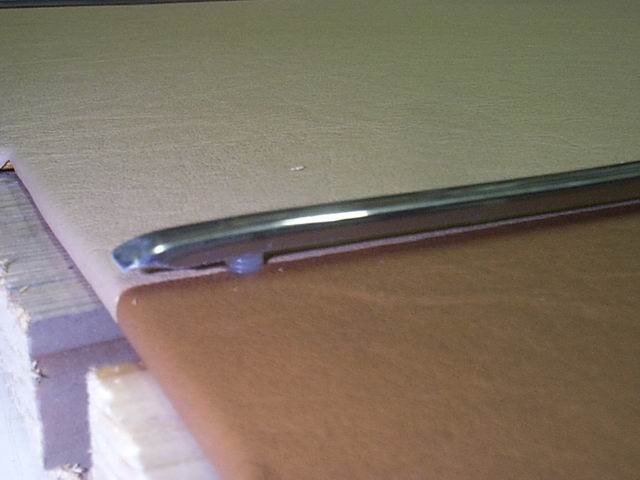
Gradually things are starting to take shape but something is missing? Exactly; deluxe doors need chrome strips! Luck would have it that I bumped into some stock... These strips are easily made to measure with a small metal saw. Once cut into the right lengths, the ends of the strips can be hammered into nice, round ends. It does take some practise but the result is fairly satisfying. The strips are installed with small plastic clips, which only require you to drill a small hole in the panel. Once done, the chrome strips can be fitted with a little help of you old faithful rubber hammer.
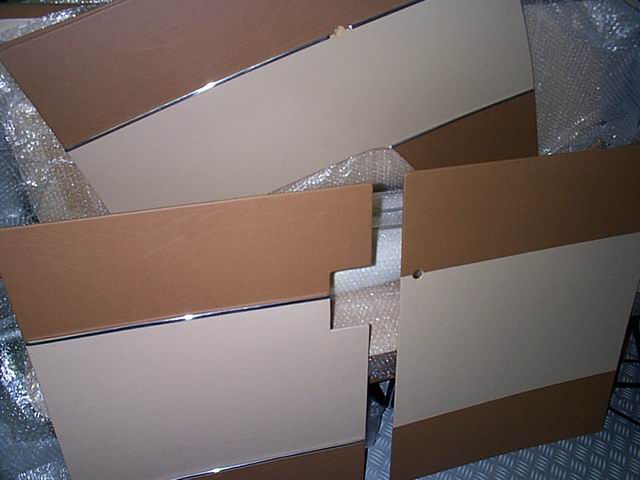
The result is... staggeringly. Funny what a couple of shiny pieces of metal can do with your doors! One of the major advantages of homemade door panels is absolutely that you can match all the colours in the interior. These door panels will go nicely with my new seats! :-)
Some tips to keep your tools in good shape:
Keep the brush in a bucket with thinner. A wooden horsehair brush doesn't come cheap so this way you can keep your brush easily aside for a few weeks without ending up with an enormous brick of glue on a wooden stick... You might as well keep the bucket covered with a piece of aluminium foil to prevent the thinner from vaporising; so you won't have to wonder why everyone in your surrounding seems to be having so much fun...
You probably already noticed we cut an old plastic jerrycan in half. It's a perfect 'bucket' for you to mix the glue and thinner. Additional advantage of this cheap and recycled bucket is that when the glue is dry, the remaining glue can easily be pulled out of the can; contact glue doesn't seem to stick to plastic jerrycan!