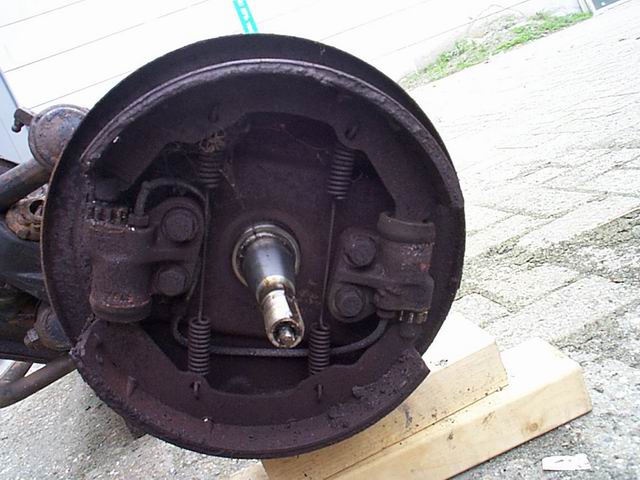


WARNING!!! Original brake linings contain asbestos. Do not use compressed air or a dry brush to clean brake parts. Many brake parts will contain asbestos fibres that, if inhaled, can cause serious injury. To clean brake parts, use water soaked rags or a suitable vacuum cleaner to minimise airborne dust.
Believe it or not, but it took us three weeks to figure out how to remove the brake drums (wish we though of buying a workshop manual earlier…) It is very likely that the brake drums will not come off easily after you have loosened the end nuts on the axles. This is caused by the brake lining that is dragging on the brake drum; back off the brake shoes by rotating the adjustment screw with a screwdriver, using the hole in the brake drum. There are two adjustment screws at the top and bottom of the front drum brakes and two adjustment screws at the top (left and right) of the rear drum brakes. If the brake drum is rusted or corroded stuck to the axle, apply some rust penetrate (e.g. WD40) and let it soak for a few hours or days. Tap the axle and brake drum surfaces with a hammer to loosen things up, try a bigger hammer if you are still stuck...
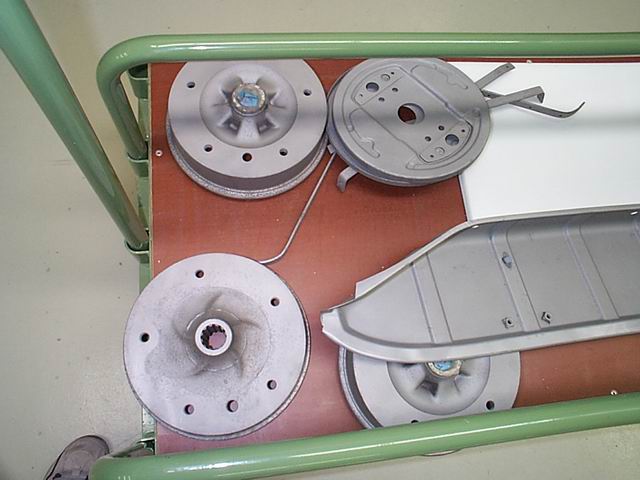
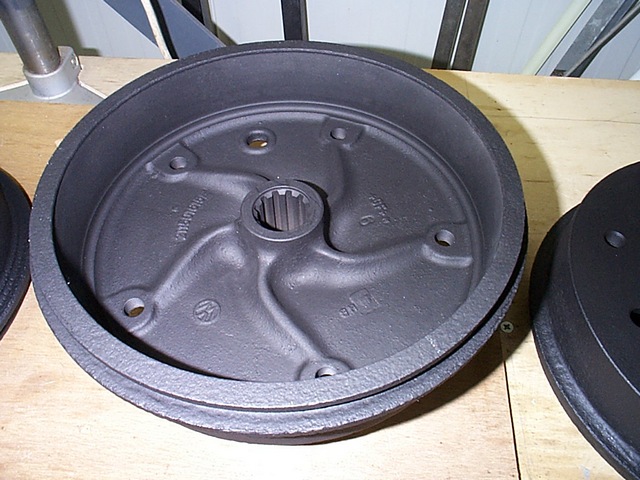
Make sure you cover or (better) remove the bearings if you decide to have the brake drums sandblasted. Apply rust converter when the brake drums return from sandblasting to make sure all the rust is gone and finish with a heat resistant paint. Note, that all heat resistant paints require a heat treatment to fully harden. Coincidentally drum brakes are pizza size, so try mum’s oven; better not do it when she is at home though…
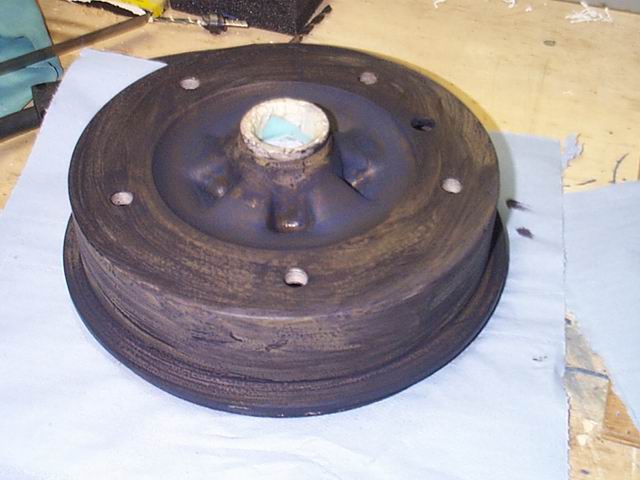
Before you can install the brake drums, check the inner brake surfaces of the drums. Minor scores should be removed with sandpaper. Grooves and large scores can only be removed by machining with special equipment, as long as the braking surface is within specifications stamped on brake drum outer surface. Any brake drum sufficiently out of round to cause vehicle vibration or noise while braking or showing taper should be machined..
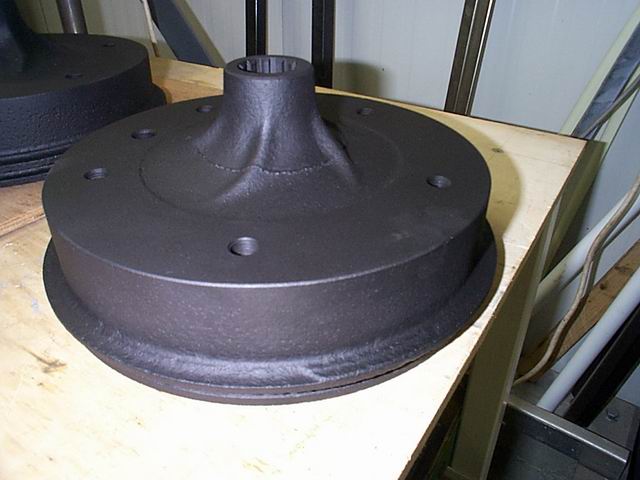
After a brake drums are machined, wipe the brake surface diameter with a denatured alcohol soaked cloth. If one brake drum is machined, the other should also be machined to the same diameter to maintain equal braking forces on both sides. Once installed, mark the axle and put a matching mark on the drum and also mark them left and right for the future, so you can reinstall the brake drums it in the same position they come off.