Upholstery - Part 1
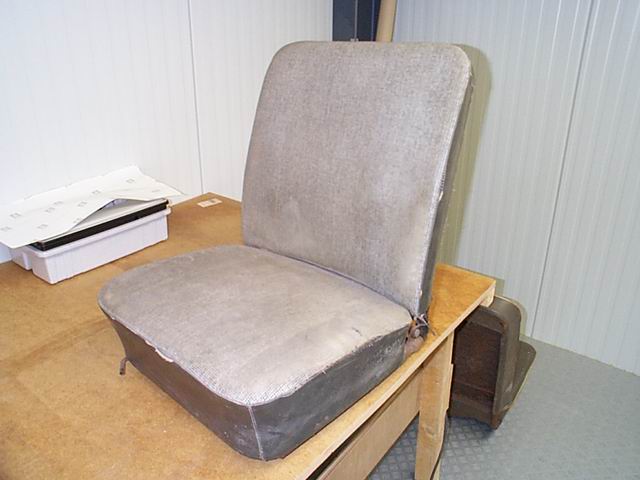


The upholstery seems to be a show stopper for many, but it can be done yourself if you take the time and prepare well. So let's start with the removal of the old fabric from the seat frames. Ensure you do this very carefully, as you will be reusing the old seat covers as models for the new ones. There are several different ways how the fabric is fixed to the seat frame:
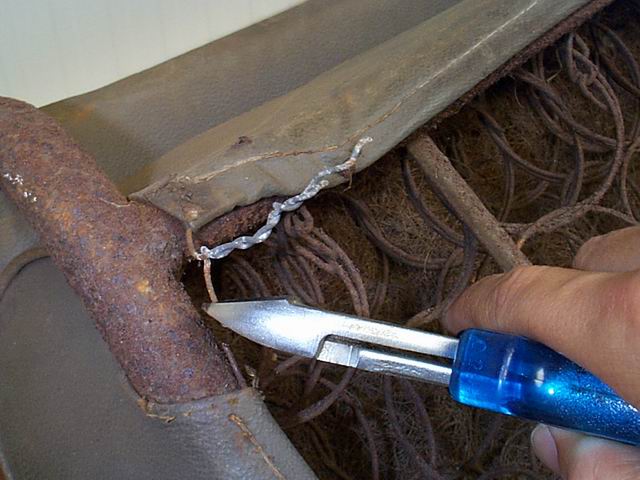
- Tightened with iron wire; cut using a pincer.
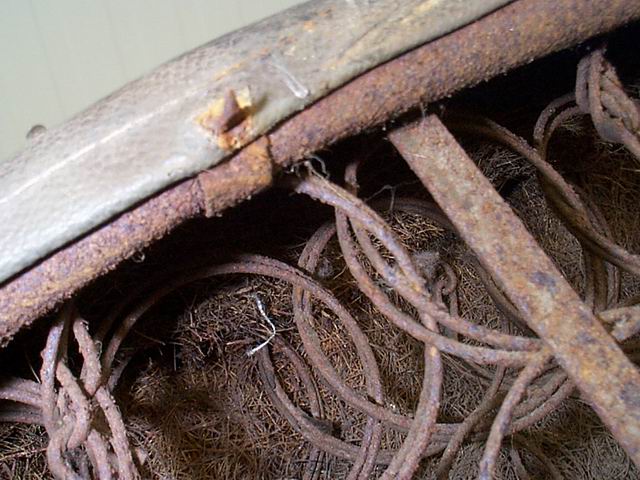
- Hooked on an iron pin; carefully bend open and loosen.
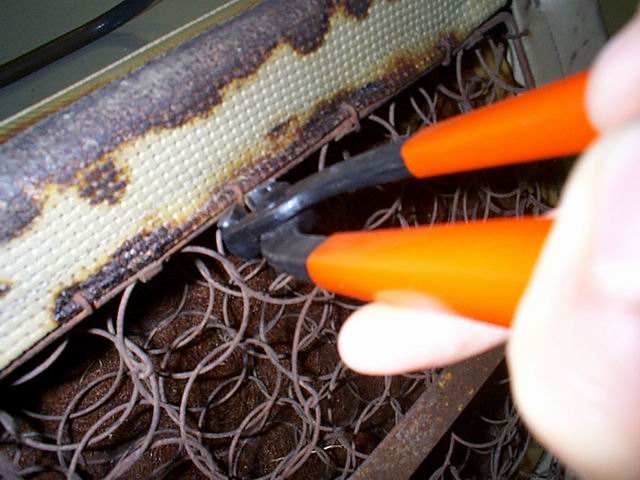
- Tightened with loose metal clamps; use a pincer to cut loose (requires new clamps!).
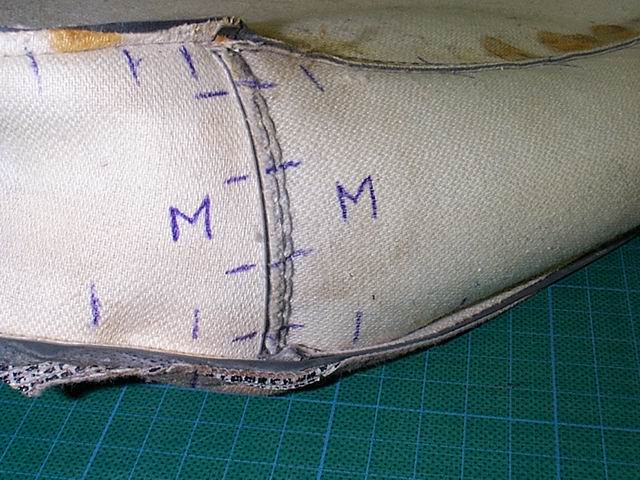
When the seat cover has been loosened, you can roll it off the back of the seat like a sock (inside out). Take care that the seams do not tear! Now that the seat covers are off, the first step is to systematically mark all seams; this will enable you to copy the unique shape of the seat onto the new material (time and different bottoms have a tendency to change the shape of a seat). If all the seams would have been cut loose without marking, the fabric will lose its original shape; leaving you with no reference points when sewing it all back together.
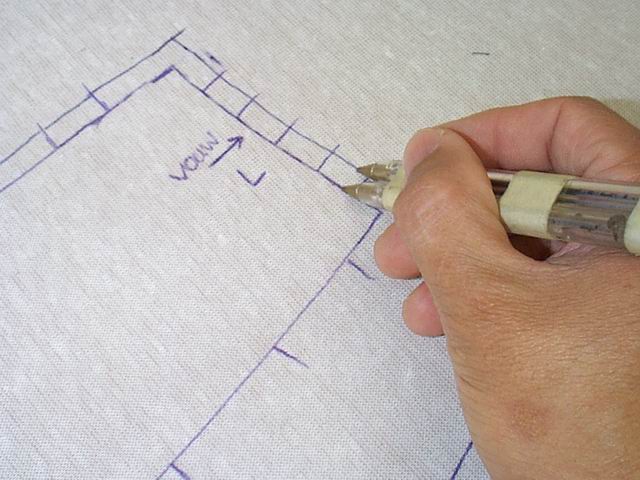
- Mark the seams with lines from one piece of fabric to the other, across the seam.
- Use arrows to indicate the side to which the seam is folded.
- Mark the sides of fabric that are attached to each other with a character, so you will sew the right parts together.
- A long line indicates a seam perpendicular to the one your marking.
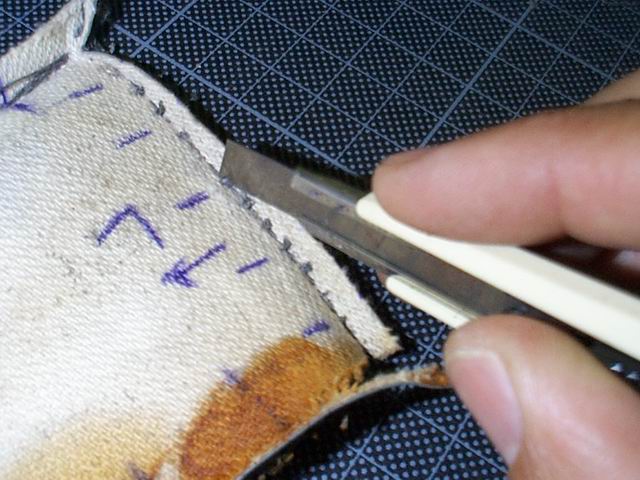
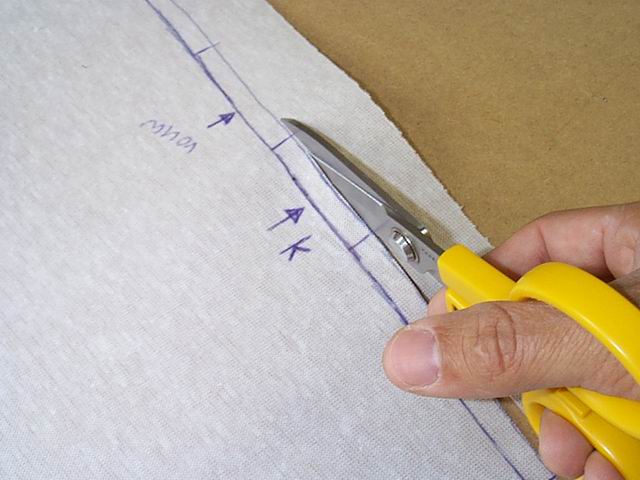
- After every segment of the seats cover is marked, you can cut through the seams and loosen the different pieces. Use a knife or another professional piece of equipment from mothers sewing-box. Again, take care not to damage the fabric.
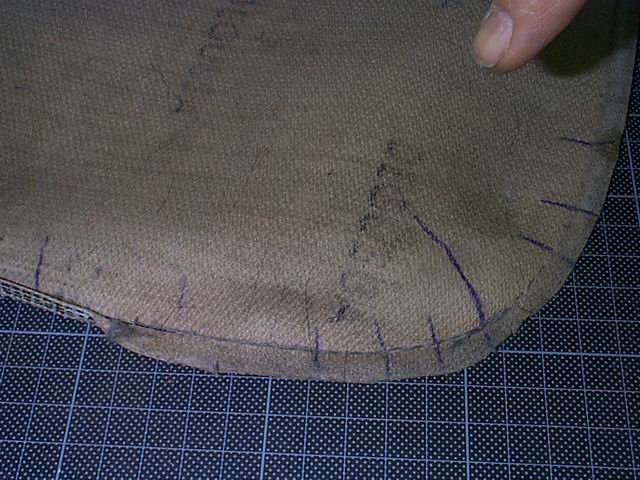
- When all seams are loosened, you can cut away the redundant material. You will have to cut exactly through the seam (see image with knife).
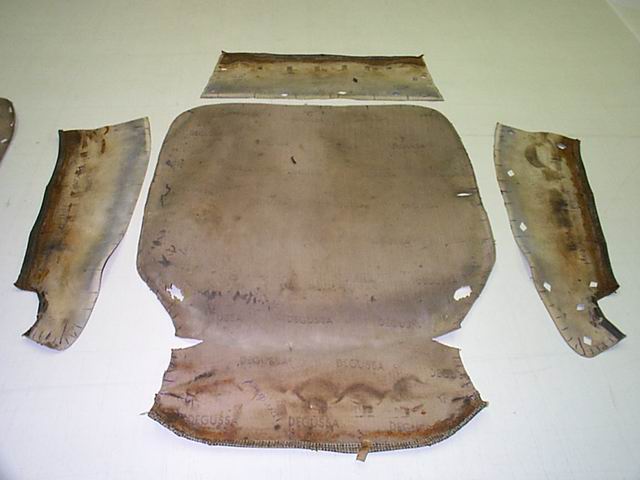
- The pieces that are left will be used as models to copy onto the new fabric.
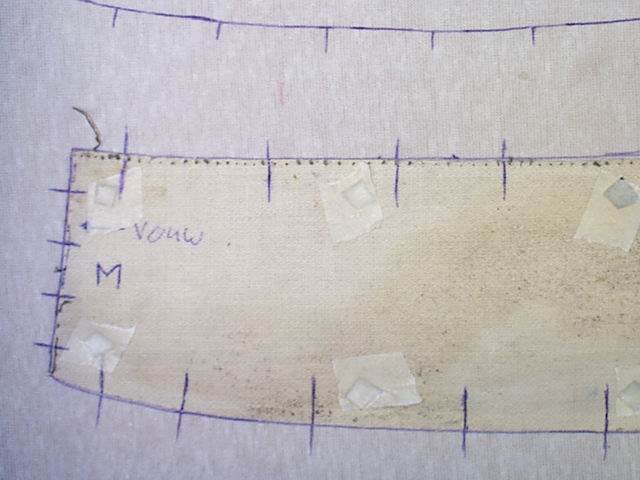
Ah... I see that everything has been cut out and all nicely laid out! Now it's time to copy the models made from the old seat cover onto the new fabric. Cut little square holes in the models and stick some (painter's) tape over the holes; this will stop the models from moving when copying them onto the new fabric:
- Make sure you copy ALL marks onto the new fabric.
- Remove the models after you have traced their outline; now copy all different marks, such as arrows and notes.
- Use a double pen (see photo) to add some extra material to the fabric for stitching.
- Cut out the new pieces of fabric.
Well done! All preparation work has been completed, you can now continue with Upholstery - Part 1: putting it all back together!