Rock & Roll Bed
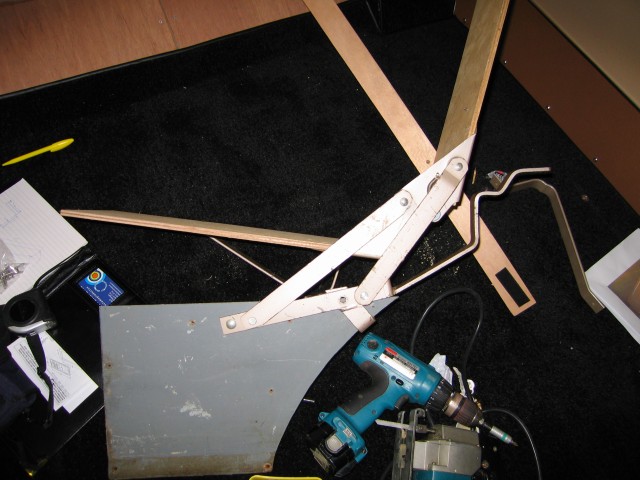


Before I decided to build my own seat bed, I started off with researching an out of the box solution. Unfortunately, most of the readymade rock and roll beds do not come cheap. During my hours of crawling the internet for a solution, I stumbled across a set of original Westfalia rock and roll bed hinges that came out a bay window. Luckily these hinges will equally fit a split window, as the engine compartments of the two are of a similar design.
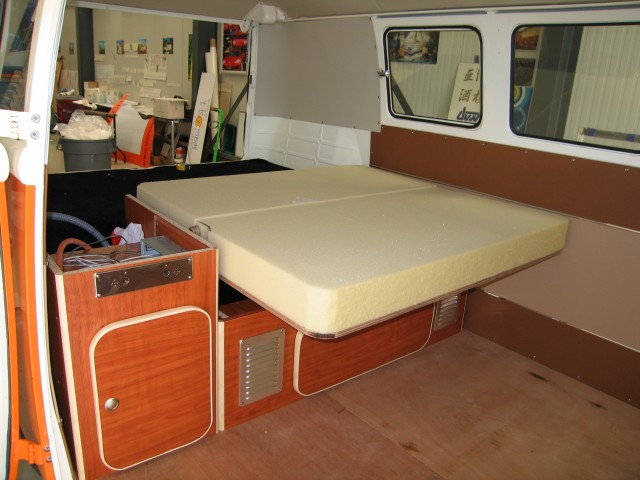
Once I received the rock and roll bed hinges, I quickly realised that it was not as easy as I thought it was going to be: the hinges are quite complicated without a manual or a good example. The seat and the back are both in a specific angle opposed to the floor of the van. Figuring out the right angle without the original seat frame proved to be quite a challenge: it took me a whole evening of cutting cardboard models!
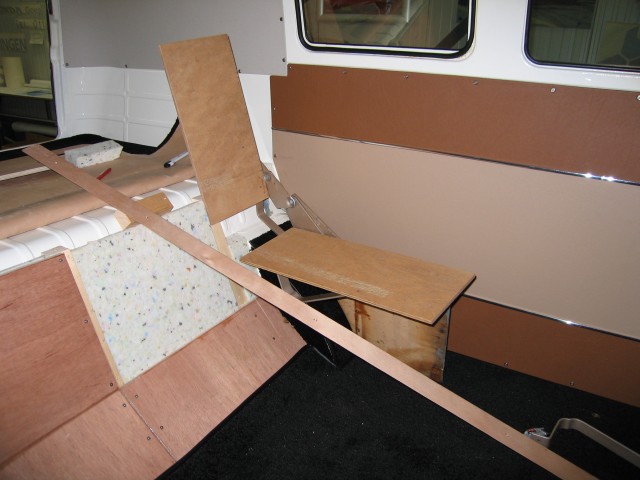
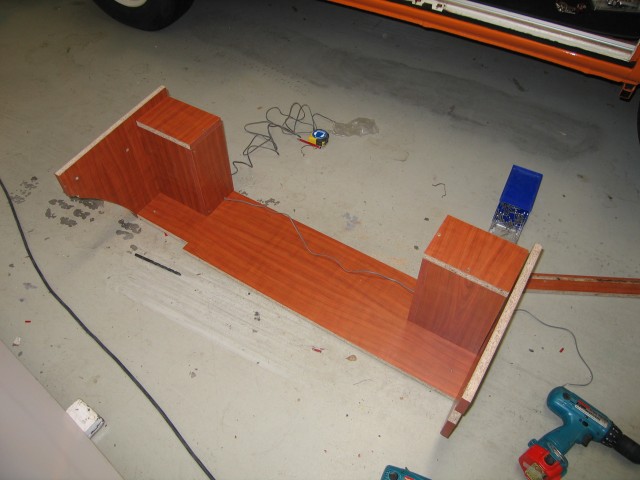
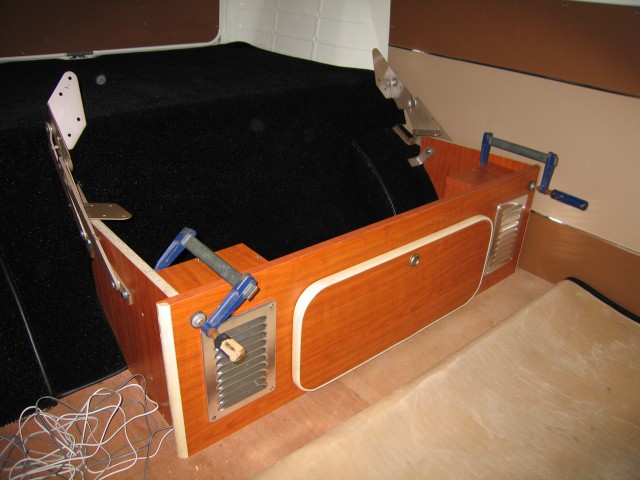
I made the bed base out of laminated panel, which you should be able to buy at your local DIY store. The door hinges are regular kitchen cupboard hinges. With some creativity, imagination a router and a jigsaw, you can make yourself quite a professional looking camper interior without spending thousands of dollars at a camper interior builder.
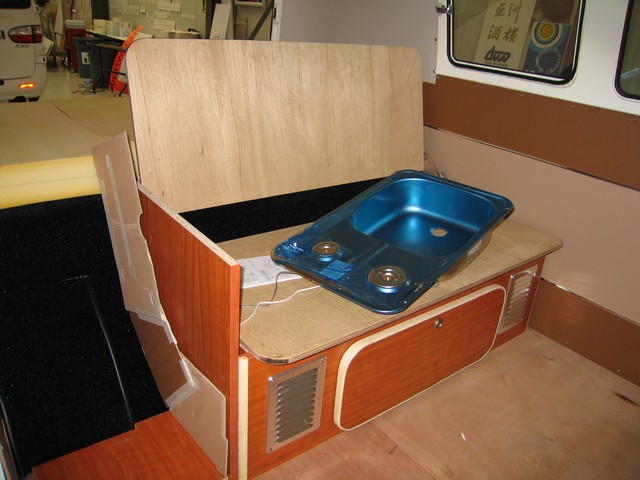
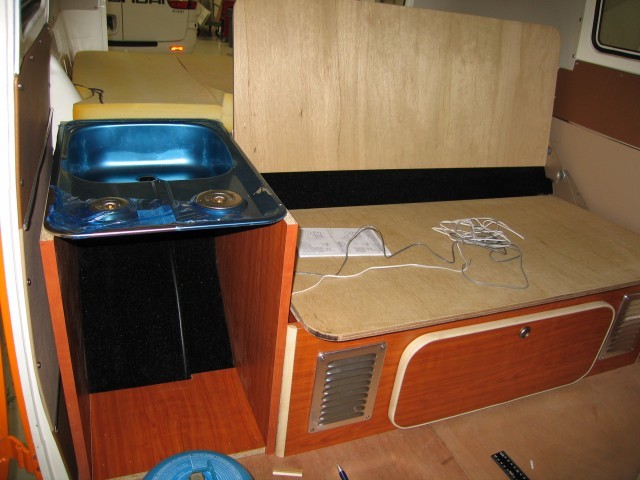
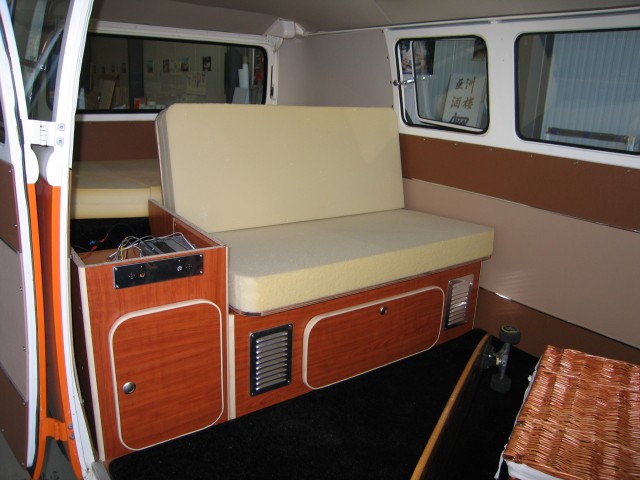
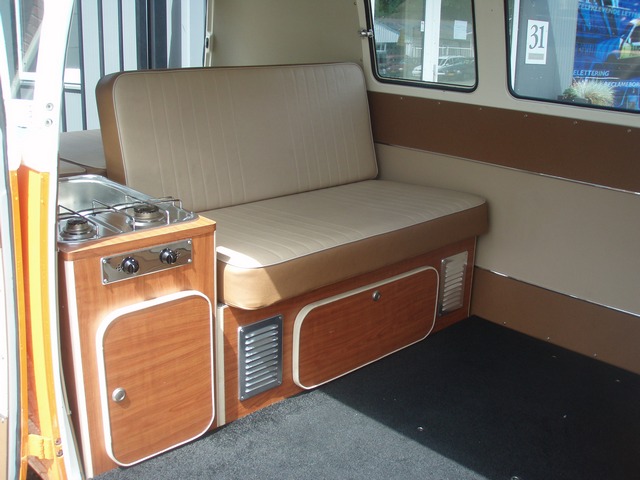
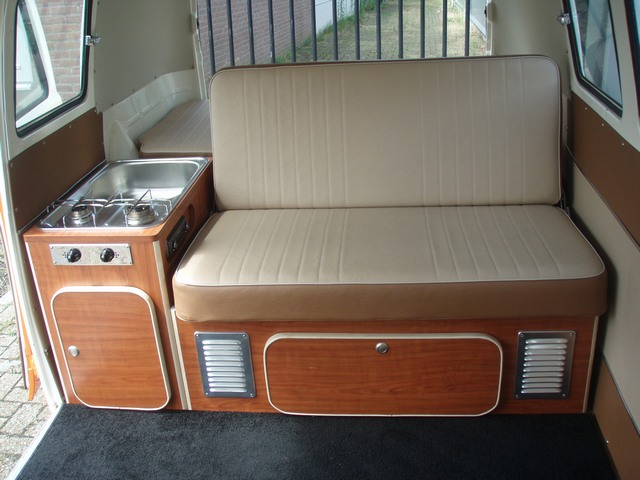
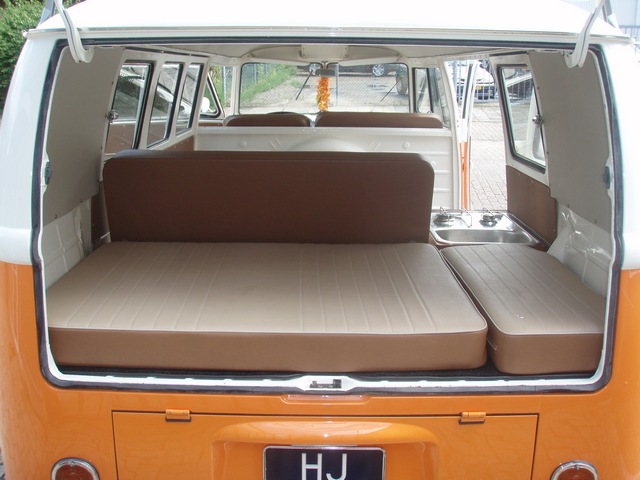
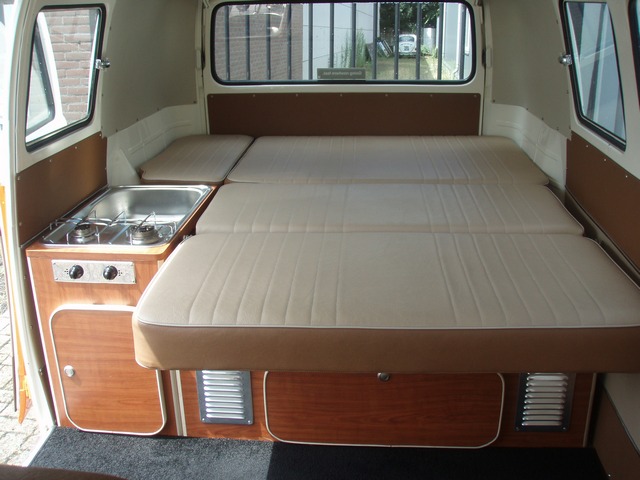
Depending on your personal plans for your van's interior, you will need to decide on the width of the rear seat (or bed). In my case I ended up with a bed width of 110 cm (43,3 inch) since I installed a sink and a cooker (which I bought from a local boat shop). The mattress was a completely different story: there is plenty of places where you can buy separate pieces of foam. Unfortunately selling separate pieces of foam seems to be big business: a much more affordable solution turned out to be buying a brand-new foam mattress and cutting it into pieces to suit the rock and roll bed.
Whilst I was at it, I also installed sound deadening material over the engine compartment to reduce the engine noise in the cabin. Finally, I covered that with custom made matting.
The upholstery of the rear seat and mattresses on top of the engine compartment can also be done yourself, see my Upholstery - Part 1 & Upholstery - Part 2 articles for a complete overview of home-made upholstery.
Here’s a couple of tips from first-hand experience that will save you a great deal of time:
- First: think, draw, adjust, redraw, re-adjust: speakers, stove, sink? It's so much easier when you know where you want these items before you start preparing the bed base.
- Make 1:1 cardboard models to check whether things will turn out the way you planned it, then copy on wood or laminated panel.
- Do not underestimate the need for taking good measurements. Nothing is more annoying than finding out things don't fit while assembling all your prepared parts.
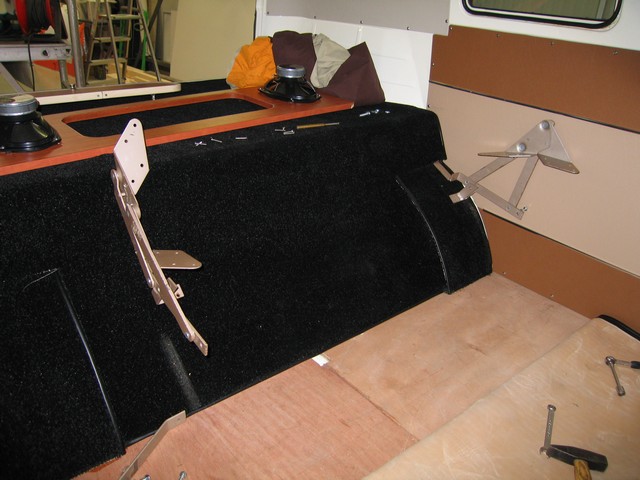
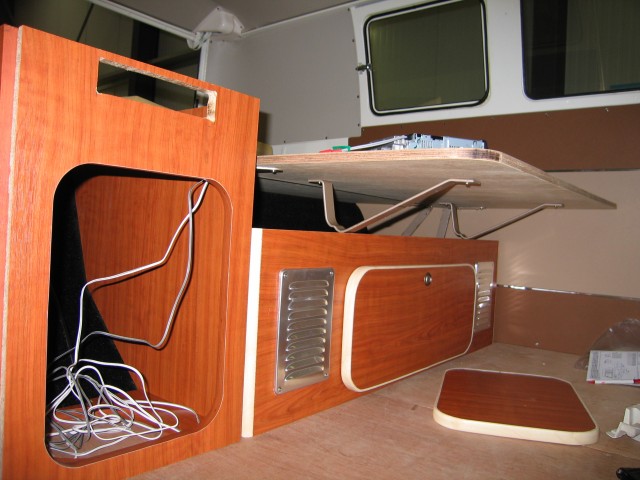
Finally, some notes regarding the photos: the bed base does not require to be bolted onto the floor, in my case only two screws keep the whole thing into place. The bed hinges are both bolted onto the sides of the bed base and through the engine compartment (which means you will need to drill two holes!). The cabinet door knobs can be bought from a caravan or boat shop. Most of them come with a lock (press ones to open, press again to lock) which is handy in case you need to hit the brakes and you don’t want all your cutlery hitting you in the back of the head.